How to Create Professional Client Portals with Notion in 2026
A practical guide to turning your Notion workspace into a client-ready portal that feels polished and on-brand. We'll cover setup, templates, and workflows that keep clients confident without overwhelming them.
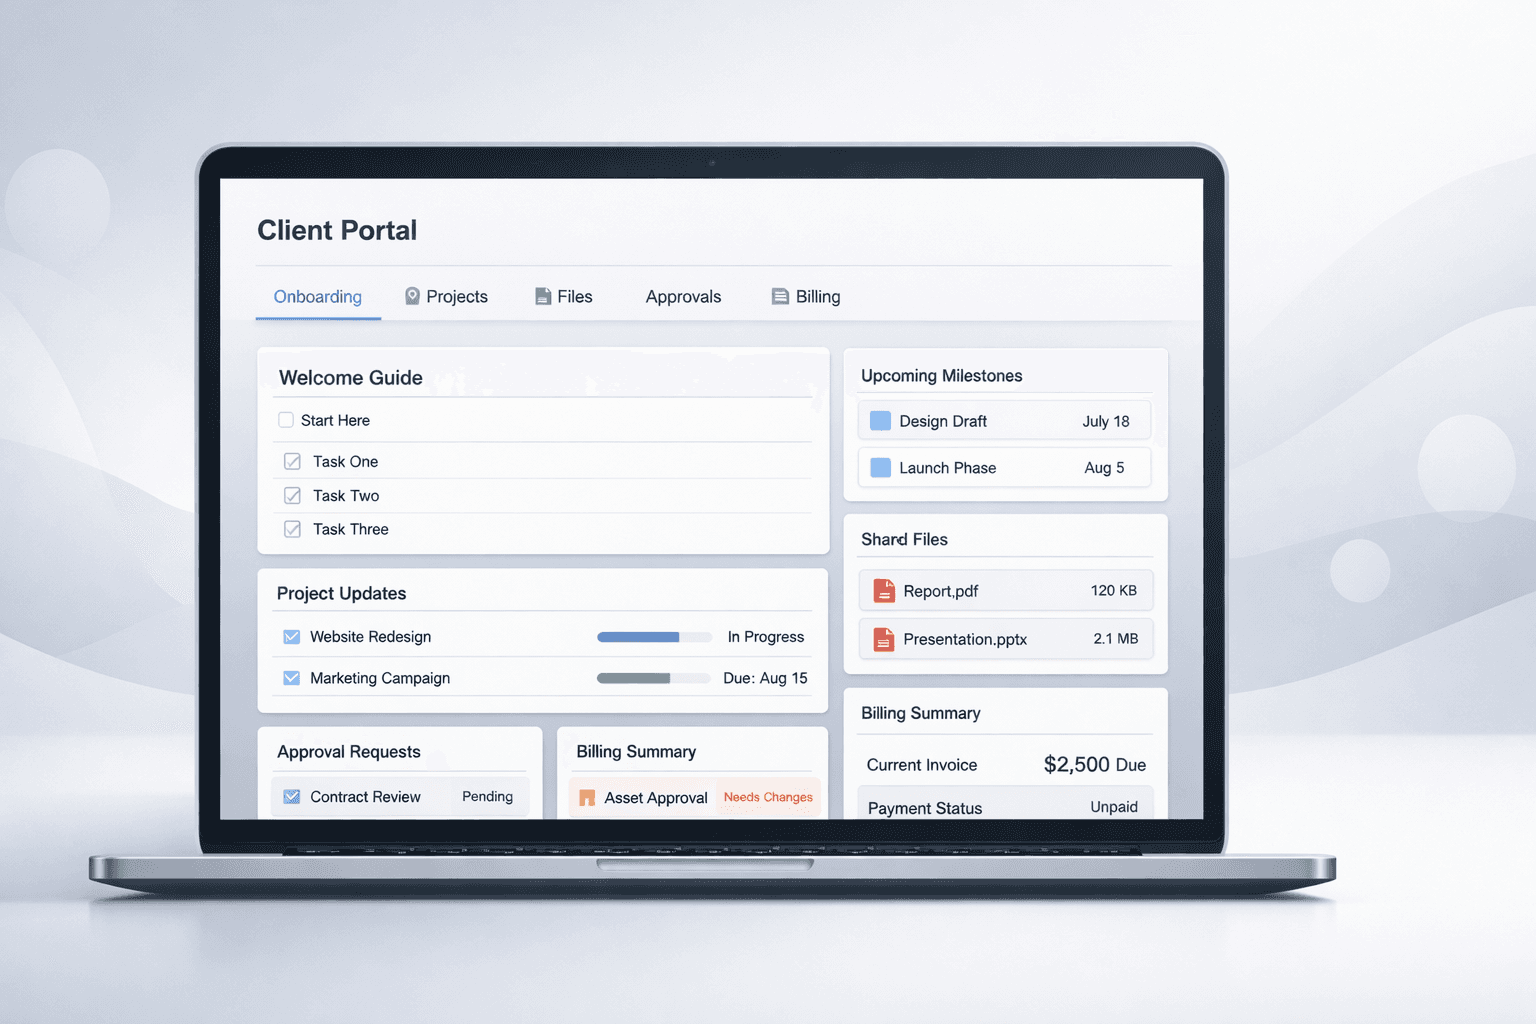
If you're using Notion to manage client projects, you've probably faced this dilemma: how do you share project updates and deliverables with clients without overwhelming them with your entire workspace? The answer lies in creating dedicated client portals that filter and present only the most relevant information.
In this comprehensive guide, we'll walk through the process of creating professional client portals using Notion, covering everything from database setup to automation workflows that will save you hours each week.
Step 1: Setting Up Your Notion Databases
The foundation of any good client portal is a well-structured database system. You'll typically need at least two main databases:
Essential Databases for Client Portals
Critical Database Properties
Each database should include these essential properties to enable proper client filtering and portal functionality:
Required Properties
- Client: Select or relation property to tag items - Status: Multi-select for tracking progress - Due Date: Date property for deadlines - Priority: Select property for importance levels
Optional Properties
- Assignee: Person property for team members - Category: Select for organizing by type - Budget: Number property for project costs - Files: Files property for attachments
Step 2: Creating Client-Specific Views
Once your databases are set up, you need to create filtered views that show only the information relevant to each specific client. This is where the magic happens.
💡 Pro Tip
Create a template view structure that you can quickly duplicate for new clients. This ensures consistency and saves time during client onboarding.
Setting Up Filters
For each client portal, create filtered views in your databases:
- Open your Tasks database
- Create a new view and name it after your client (e.g., "Acme Corp Tasks")
- Add a filter:
Client contains [Client Name] - Sort by due date or priority as needed
- Hide unnecessary properties to reduce clutter
Step 3: Securing Your Client Portals
Security and permissions are crucial when sharing Notion pages with clients. You want to ensure they can only see what they're supposed to see.
⚠️ Security Warning
Never share your main workspace with clients. Always create dedicated portal pages with limited permissions and filtered views.
Permission Best Practices
Why This Approach Falls Short
While the manual Notion approach works, it has significant limitations that become apparent as your business grows:
Common Challenges
The Professional Solution
This is exactly why we built Portalwith. It takes your existing Notion setup and automatically creates professional, branded client portals with advanced features like action buttons, custom domains, and enterprise-grade security.